---
title: 2FA Support (TOTP)
subtitle: How to send 2FA codes (TOTP) to Skyvern
slug: credentials/totp
---
Skyvern supports one-time password (see https://www.twilio.com/docs/glossary/totp for more information), also known as 2FA/MFA. For Skyvern to get the code, there are three options:
- [Option 1: Store your 2FA/MFA secret in Skyvern Credential tool](#option-1-store-your-2famfa-secret-in-the-skyvern-credential-tool)
- [Option 2: Skyvern gets the code from your endpoint](#option-2-get-code-from-your-endpoint)
- [Option 3: You push the code to Skyvern](#option-3-push-code-to-skyvern)
## Option 1: Store your 2FA/MFA secret in the Skyvern Credential tool
Save your username and password in [Skyvern Credential](https://app.skyvern.com/credentials) where you can also store your 2FA/MFA key/secret.
See [Password Management](/credentials/passwords#manage-passwords-in-skyvern-cloud) for more details.
## Option 2: Get Code From Your Endpoint
You can pass `totp_url` when running [a task](/api-reference/api-reference/agent/run-task) or a [workflow](/api-reference/api-reference/agent/run-workflow). Inside this endpoint hosted by you, you have to conform to the following schema:
### Set Up Your TOTP Endpoint
For websites that require a verification code to complete a task, you have to set up a TOTP endpoint for Skyvern to fetch the verification code.
Here's the TOTP endpoint contract you should use:
Request (POST):
| Parameter | Type | Required? | Sample Value | Description |
| --- | --- | --- | --- | --- |
| task_id | String | yes | tsk_123 | The task ID that needs the verification to be done |
Response:
| Parameter | Type | Required? | Sample Value | Description |
| --- | --- | --- | --- | --- |
| task_id | String | yes | tsk_123 | The task ID that needs the verification to be done |
| verification_code | String | no | 123456 | The verification code |
### Validate The Sender of The Request
Same as the webhook API, your server needs to make sure it’s Skyvern that’s making the request.
- a python example for how to generate and validate the signature:
```python
def validate_skyvern_request_headers(request: Request) -> bool:
header_skyvern_signature = request.headers["x-skyvern-signature"]
payload = request.body() # this is a bytes
hash_obj = hmac.new(SKYVERN_API_KEY.encode("utf-8"), msg=payload, digestmod=hashlib.sha256)
client_generated_signature = hash_obj.hexdigest()
return header_skyvern_signature == client_generated_signature
```
SKYVERN_API_KEY: you can get the API KEY from [Skyvern Settings](https://app.skyvern.com/settings).
## Option 3: Push Code To Skyvern
Find TOTP API doc [here](/api-reference/api-reference/credentials/send-totp-code).
You can pass `totp_identifier` when running [a task](/api-reference/api-reference/agent/run-task) or a [workflow](/api-reference/api-reference/agent/run-workflow). When the TOTP code arrives at your inbox, all you need to do is to send the email/message (Gmail + Zapier integration can be a good solution to set up email forwarding) to Skyvern's TOTP endpoint.
### Forwarding Your Email To Skyvern (Gmail + Zapier)
This setup requires a Zapier Pro plan account.
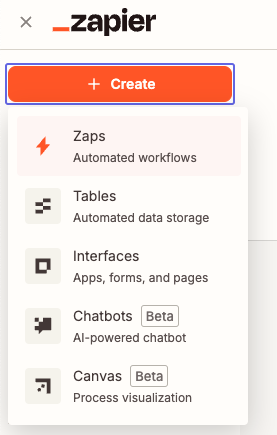
**Step 1. Create a Zapier Zap**
Go to https://zapier.com/app/home and create new Zaps
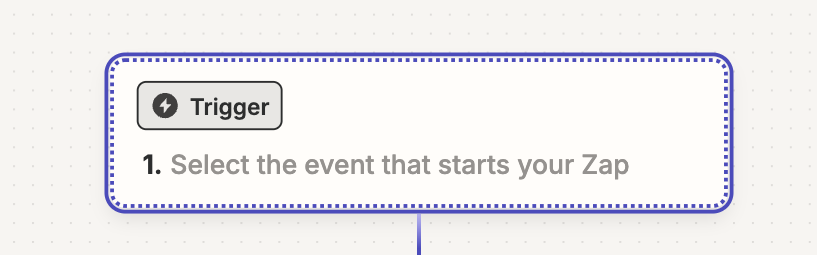
In the newly created Zap draft, Click the “Trigger” button
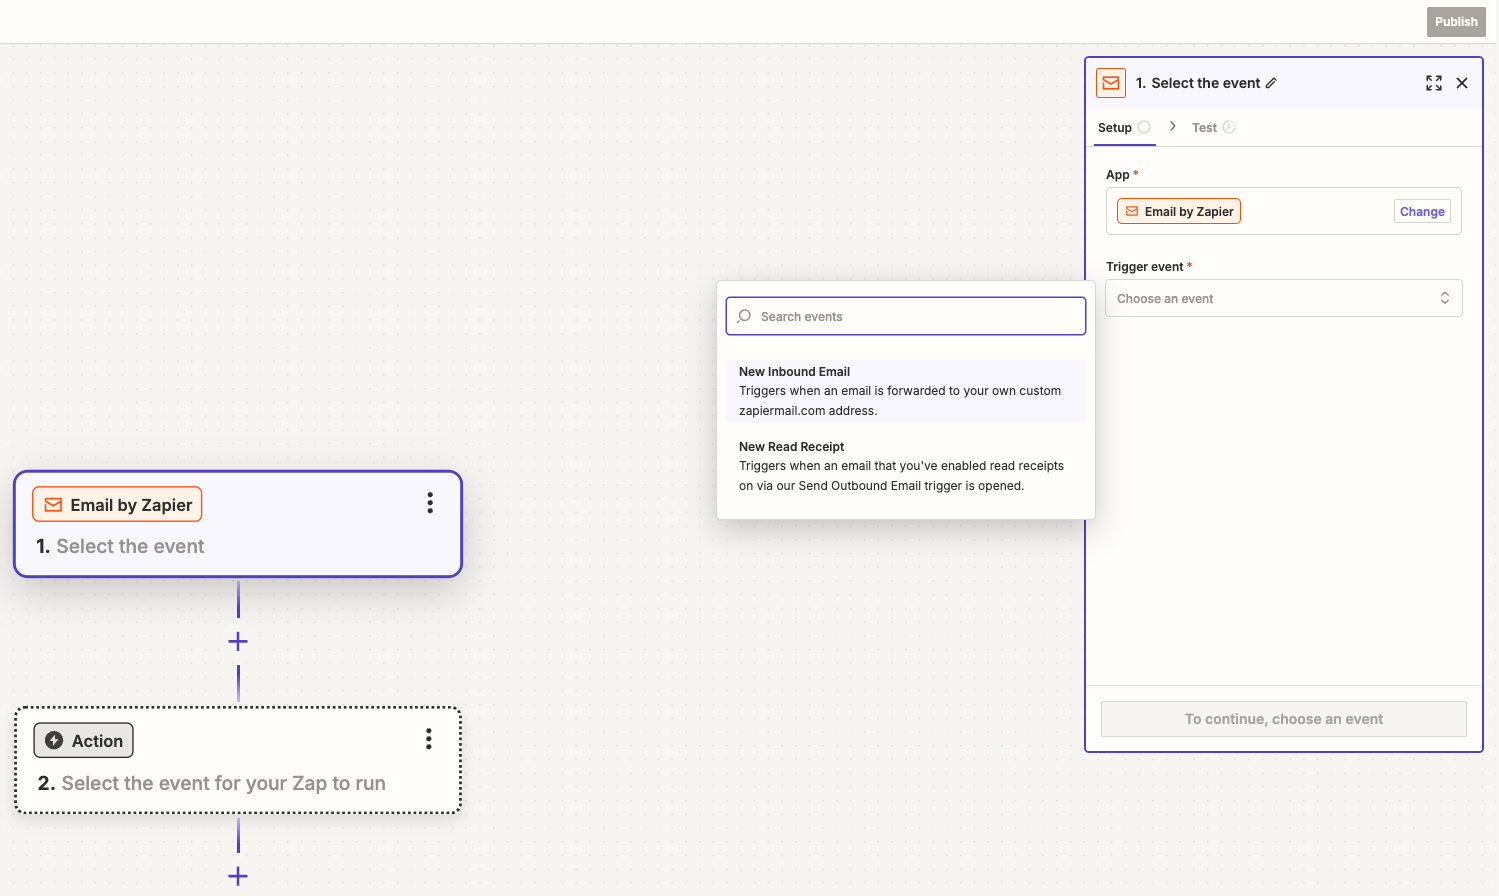
Click `Email by Zapier`
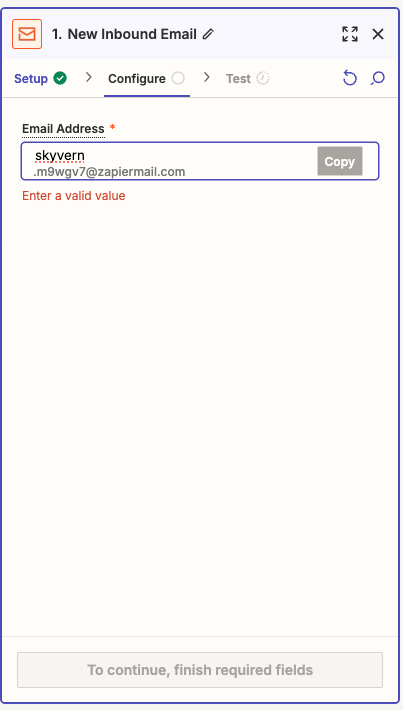
In the Email “Setup”, pick `New Inbound Email` in the `Trigger event` selection. Click `Continue` to complete the “Setup”
In Email “Configure”, create an email address which will be used to forward emails for TOTP codes. Click “Continue”.
Let’s add the Action to complete the Zapier setup before coming back to test it. Click the “Action” button and add `Webhooks by Zapier`

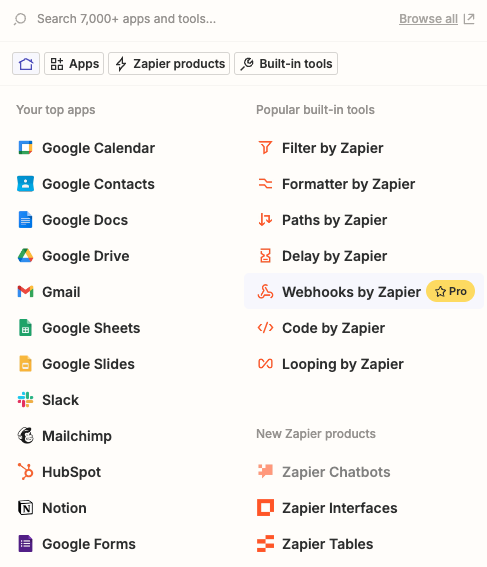
In the Setup, choose “POST” under the `Action event` selection. Then click “Continue”.

In the “Configure”, set up these in order to make a POST request to Skyvern’s TOTP API:
- URL: [`https://api.skyvern.com/v1/credentials/totp`](https://api.skyvern.com/v1/credentials/totp)
- Payload Type: json
- Data:
- totp_identifier: choose `Raw To Email` after clicking the “+” sign
- content: choose `Body Plain` after clicking the “+” sign
- source: email
- Headers:
- x-api-key: `Your Skyvern API Key`
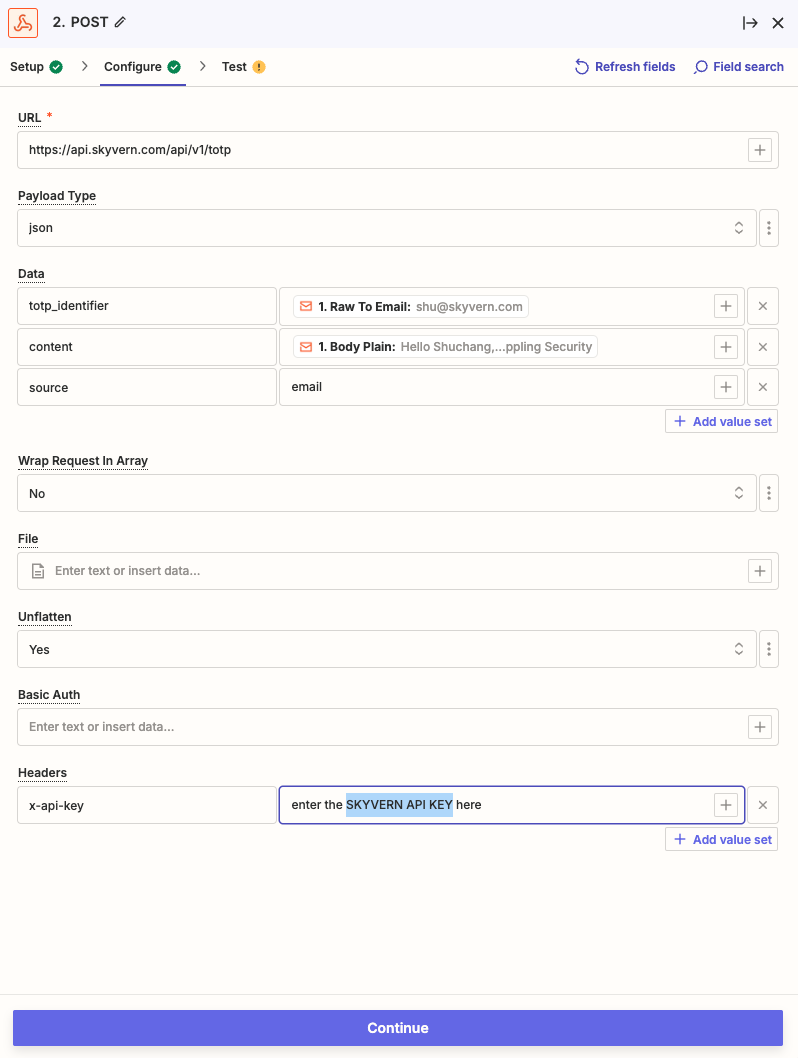
Click Continue
**Step 2. Add forwarding email and create a filter in Gmail**
Go to Gmail Settings → Forwarding and POP/IMAP (https://mail.google.com/mail/u/0/#settings/fwdandpop) → click “Add a forwarding address” → enter the zapier email address you just created. There might be some verifications, including a verification email from Zapier, you have to complete here.
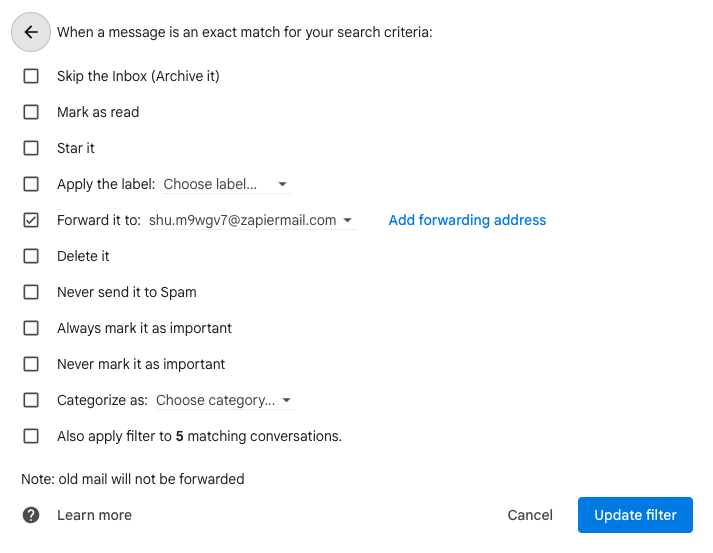
After setting up the forwarding email address, go to “Filters and Blocked Addresses” (https://mail.google.com/mail/u/0/#settings/filters). Click “Create a new filter” and set up your email filtering rule for your TOTP (2FA/MFA) emails. Click “Create filter”. Check “Forward it to” and pick the new email address and update filter.
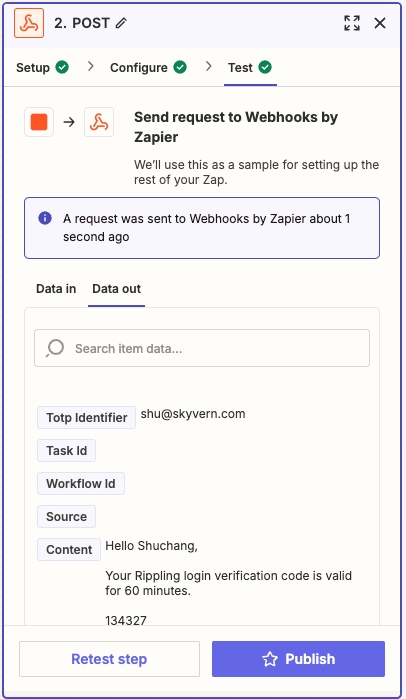
**Step 3. Test it end to end!**
You can forward any previous TOTP (2FA/MFA) email to the Zapier email address you created in Step 1.
In Zapier: under the “Test” of the Webhooks action, send a request to test it out. If your test is successful, you should see a `A request was sent to Webhooks by Zapier` message